Please see below video on How-to switch from Corporate proxy to Schools Proxy server
Enable WLAN AutoConfig on your Computer
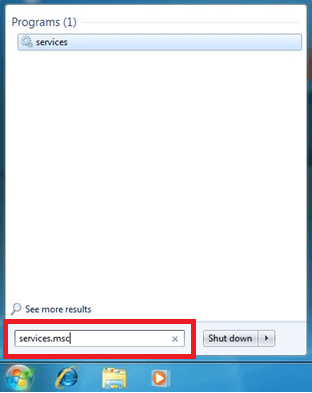
1) Click the Start button and type services.msc into the search box and press <Enter>.
2) In the services window locate the service named WLAN AutoConfig.
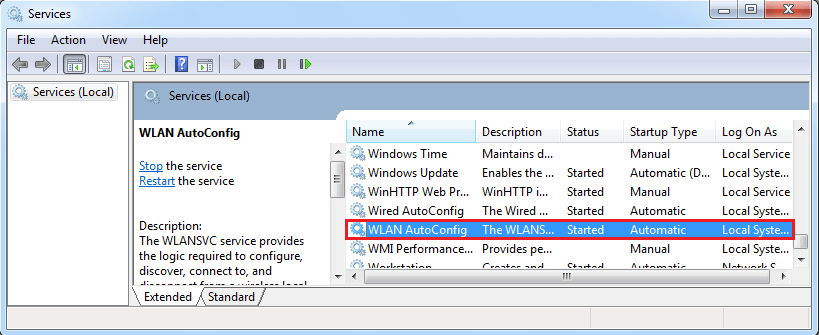
3) Right click on this service and click on Properties.
4) Set the Startup Type Automatic.
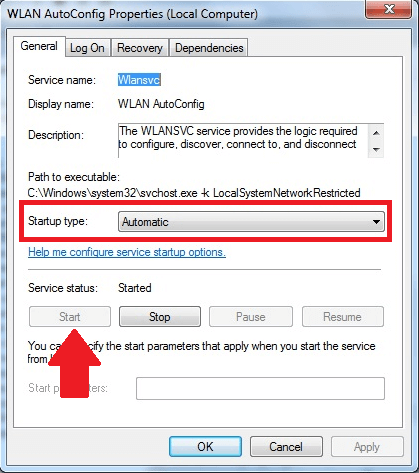
5) If the service status is Stopped then click the Start button.
6) Press OK and close the services window.
Connecting Windows PC to WCGSCHOOLS (Wireless)
Method 1
Note: Confirm that settings for 802.1x authentication has been completed.
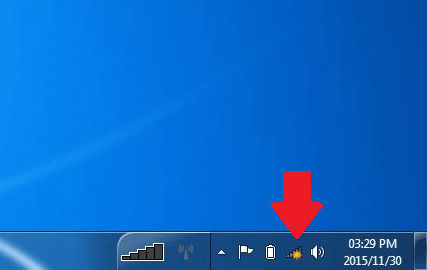
1) Confirm that wireless is enabled on the device.
2) Click on the wireless icon in the System Tray.
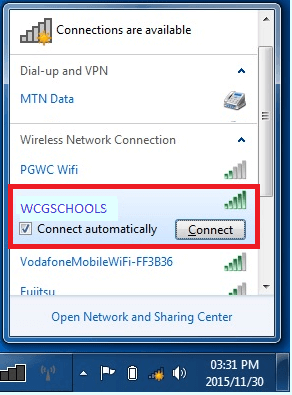
3) Click on WCGSCHOOLS and then the connect button.
4) A window will pop-up requesting username and password.
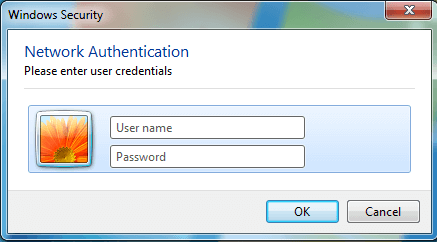
Username: domain\persal number
Eg: wcgschools\12345678
Default password is your persal number.
5) Once you have correctly entered your details you will be connected to the network and internet.
Note: Be sure that the browser is configured for the proxy.
Method 2
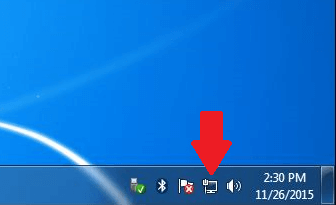
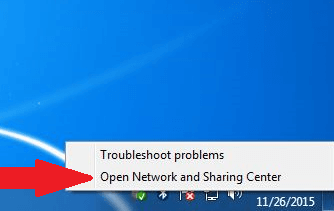
1) In the system tray, right click your network icon and select Open Network Sharing Center.
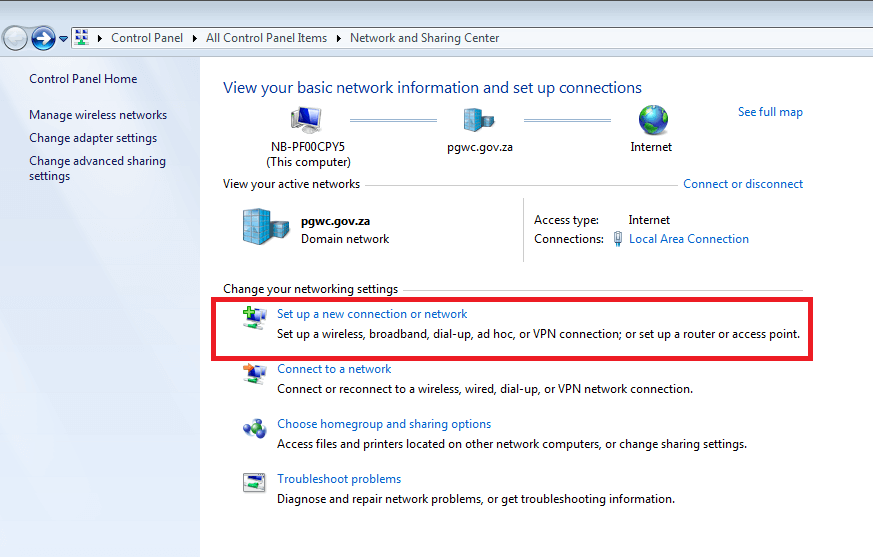
2) Select the option “Set up a new connection or network”.
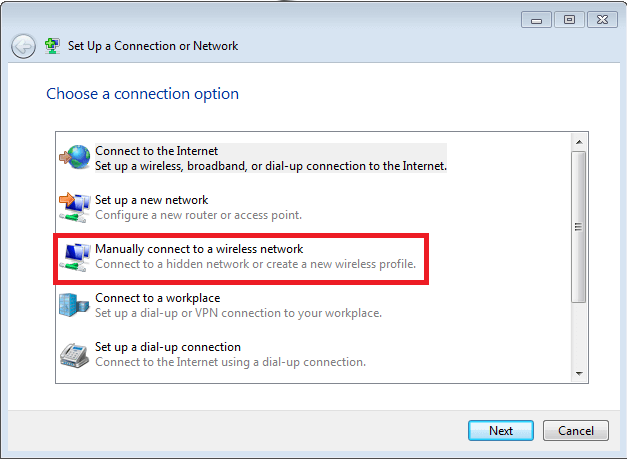
3) Select “Manually connect to a wireless network”
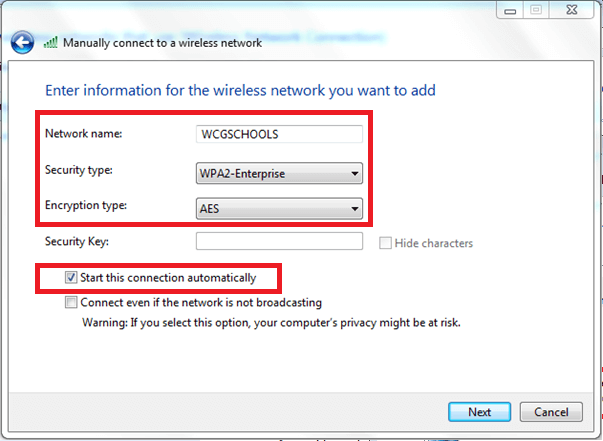
4) In the window that appears complete the settings as below.
• Network name: WCGSCHOOLS
• Security type: WPA2-Enterprise
• Encryption type: AES
• make the checkbox “Start this connection automatically” is ticked
Click Next
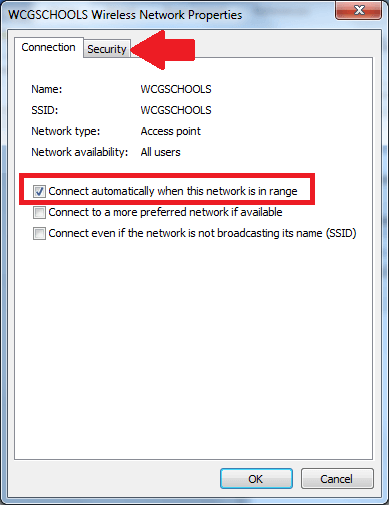
5) If you get the screen below the connection was successfully added. Select “change connection settings”

6) Make sure “Connect automatically when this network is in range” is selected.
Then click on the security tab.
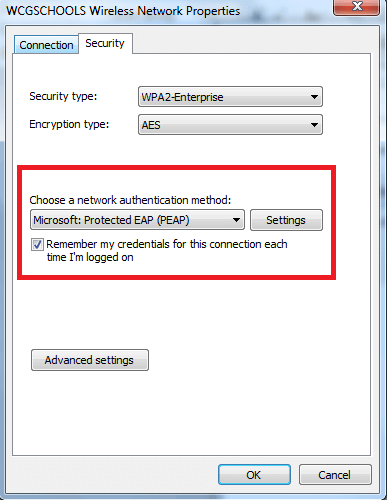
7) In the drop down box make sure “Microsoft: Protected EAP (PEAP)” is selected and that the tick box below the option is selected. Click the settings button.
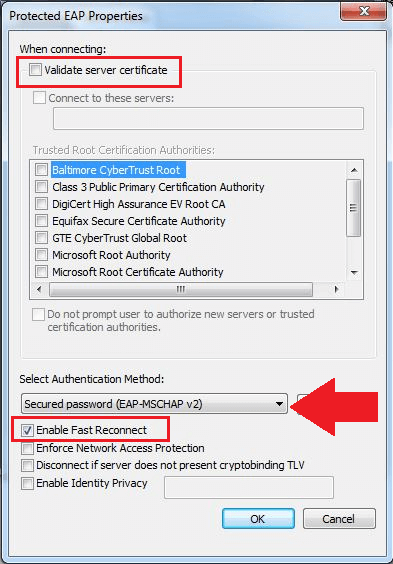
8) Untick Validate server certificate.
9) Ensure that under Select Authentication Method the option Secured password (EAP-MSCHAP v2) is selected.
10) Make sure that Enable Fast Reconnect is Ticked.
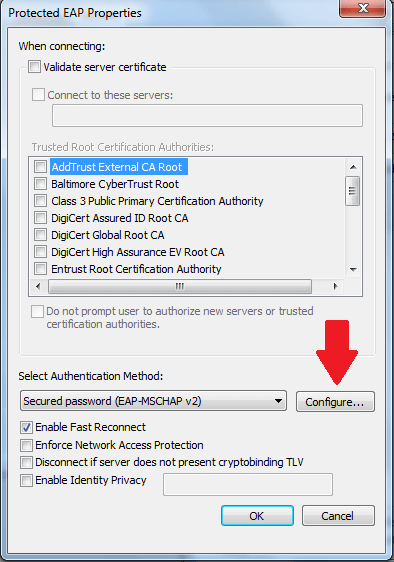
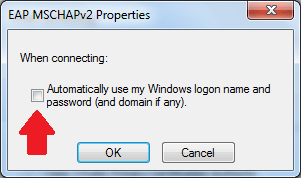
11) Click on the configure button and make sure that the checkbox in the window that pops up is unticked. Click “OK” twice.
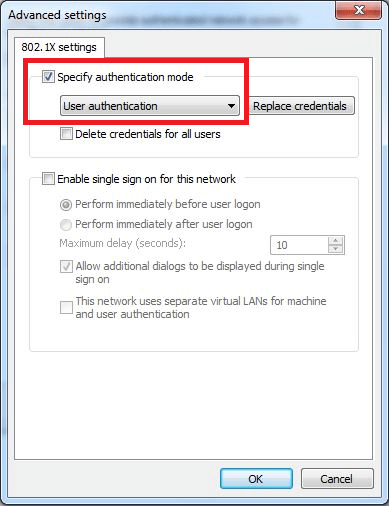
12) Click Advanced Settings and select Specify authentication mode and specify User authentication. Click "OK" twice.